

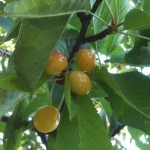

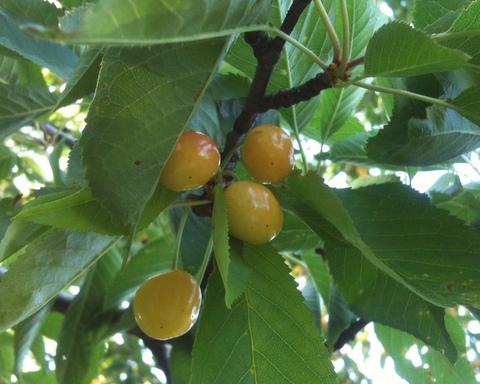
Yellow cherries on the tree.
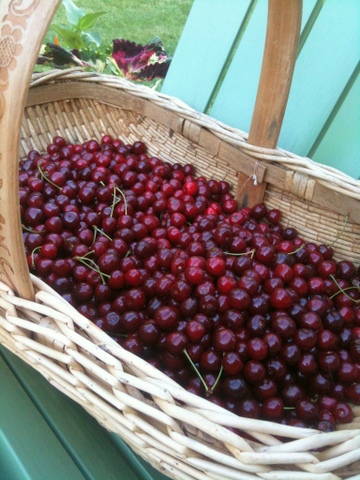
When it’s cherry season around here, Tim and I visit our wild, sweet yellow, sweet black, and sour red cherry trees daily to get our harvest before the birds get them all. I usually use these fresh cherries to make a Father’s Day Cherry Pie for my dad. This year, hubby Tim has been out among the trees with a ladder and his homemade cherry-picking tub (a plastic quart container hung around his neck). So far he’s brought back ten quarts. Now it’s my turn. I’m the pit crew. My job is to wash, pit, and freeze these beautiful gifts of nature.
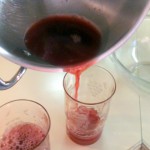
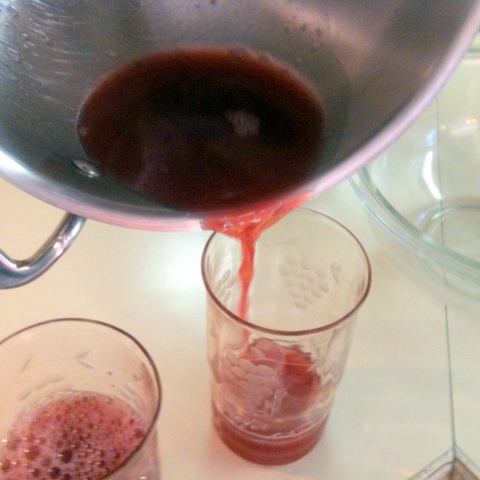
An extraordinary bonus in this preserving process is the leftover cherry juice, a result of the pitting process. If you’ve never tasted the juice of freshly pitted cherries, don’t miss this opportunity. Pour yourself a glass, and relish one of nature’s finest gifts. The pure flavor is unlike any artificially flavored anything. It’s the taste of real food.
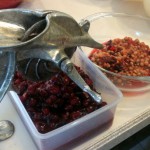
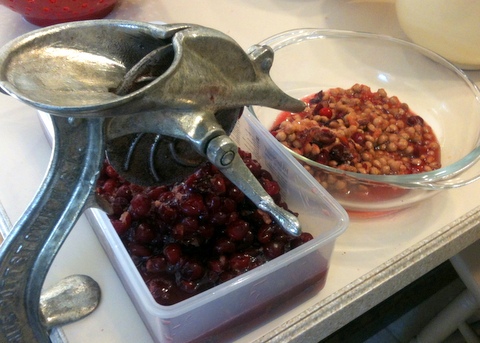
I use a cherry pitting tool that squeezes the cherries against a turning wheel (see below) to pop out the pits, and then drop the pitted fruit into a bowl. The resulting cherries are mashed rather than whole, but for pitting large quantities of fruit quickly, you can’t beat this tool. You can also buy hand-pitting tools that poke out the pit one cherry at a time. The pitted cherries look nice but the process is slow. Choose your tools and let’s get started.
Following our plant-healthy philosophy, we won’t use sugar to freeze our fruit. It’s a simple process to freeze your cherries.
Step 1 : Select firm, ripe cherries.
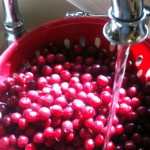
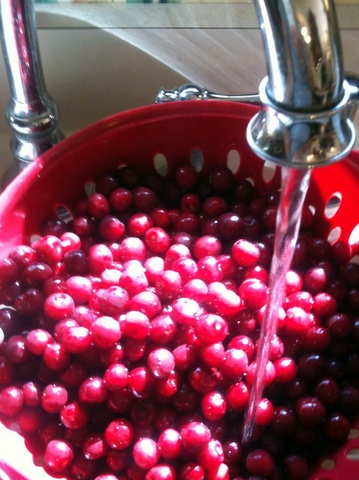
Step 2: Wash and drain your cherries, discarding any bad ones.
Step 3: pit the cherries according to your pitter’s instructions
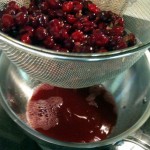
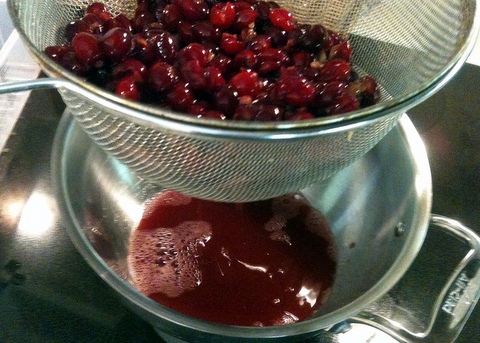
Step 4: Strain the pitted cherries through a fine sieve, saving the juice to enjoy later.
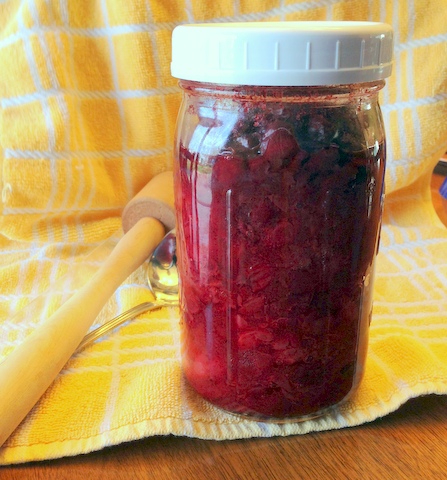
Step 5: Fill a freezer-safe container (I like to use canning jars) with the cherries, put on the lid, label, and freeze. Alternatively, you can cut the pitted cherries in half, spread them out on a parchment-lined baking sheet, and freeze until solid. Once frozen you can pour them into freezer bags or freezer-safe containers and place in the freezer for long-term storage. According to the USDA, they will be safe indefinitely, but will taste best if you use them within about four months.
Step 6 (bonus): Enjoy a glass of the cherry juice (it’s actually cider since it retains the pulp and particles from squeezing) and enjoy it over ice. Or mix it into your favorite sparkling water for refreshing summer drink.


 (3 votes, average: 3.67 out of 5)